
Jansö USB lamp from IKEA
Not least when you want to prevent little hot sharp things from penetrating your eyeballs. I got a set from Woodie’s a while back. They’re nothing fancy and do the job. But somehow I always felt they were destined for more…
I’m sure you agree. They help me see stuff. Especiallly because the hours I get to geek around in my office command center are usually after dusk, when the little people have gone to bed. So I have a few lamps around my desk. Mostly the kind that comes mounted on a big arm and you can move around as you work. But they can be a bit clumsy at times. The arm gets in the way.
Wouldn’t it be great if I could hurl a few photons at whatever I’m looking at, without huge limbs of steel obstructing my airspace?
Naturally, this is why headlamps exist. But just buying one would be pretty lame, right? Since I’ve mastered the complex science of making LEDs light up, the idea of sticking some onto my goggles has been floating around my brain for a bit now.
It’s one of those lazy Sundays where we head out early to IKEA. To devour an early, good-value-for-money breakfast then buy lots of things we never really need. I’m fully aware that this is exactly the behaviour that the brilliant IKEA store design is supposed to encourage, but sometimes ignorance is bliss.
Some seven eggs and five bacon rashers later I hit the shop floor. IKEA is a great place to find things that are not only hackable, but cheap enough that you won’t worry about voiding warranties or ruining them. So much that there’s even a whole website for IKEA hackers.
So I stumbled over this little USB lamp, Jansö. It’s basically an LED behind a lens, hooked up to a male USB A connector for power. It cost merely three Euros, so I figured I’ll take it apart and see if I can mount this thing to my goggles.
Jansö USB lamp from IKEA
My plan was simple enough. Open up the thing and hopefully find two simple power wires to play with. Replace the USB connector with a battery. Somehow mount the whole thing to my goggles. And it more or less played out just like that.
This was pretty ad-hoc and light wasn’t great, so the pics came out a bit grainy. Meh.
I didn’t know for sure what would be inside the thing or how to open it up. So I just started by cutting through it in the middle. My cutter wasn’t the best choice here, but it did the job. The metal can be a bit tough, so I recommend you use strong ones to not damage the edges.
Cut right above the USB connector

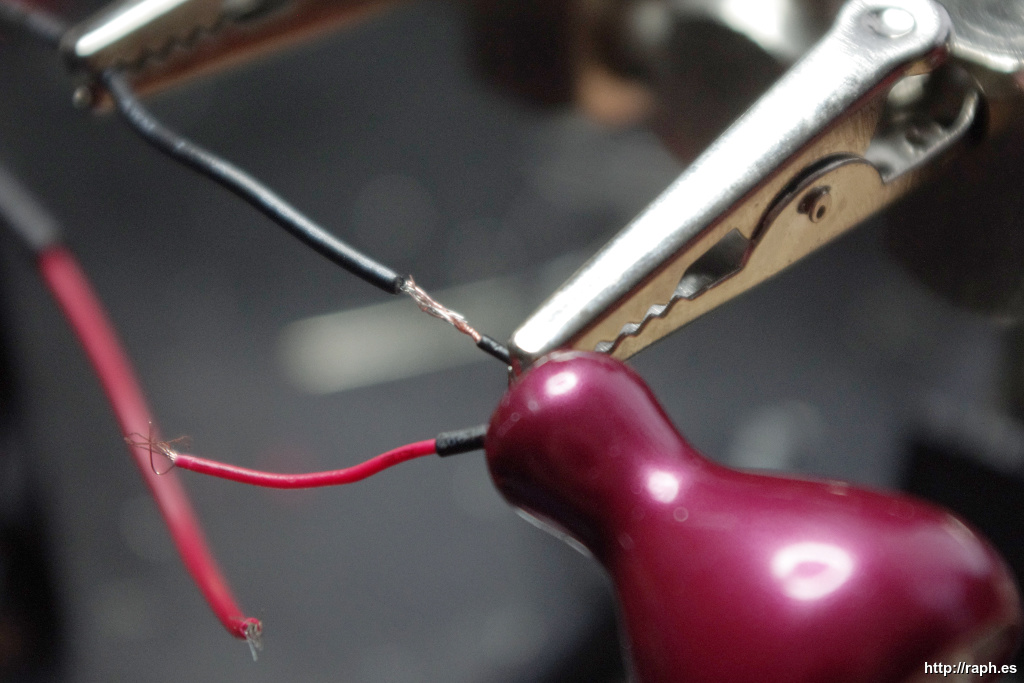
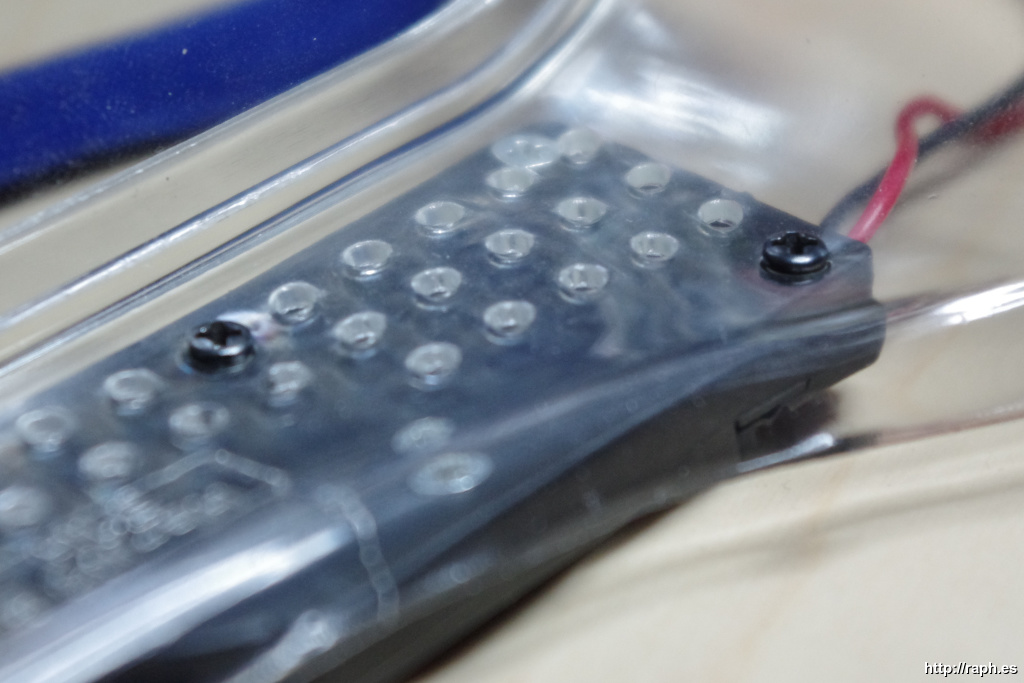
Sure enough, there’s two wires on the inside, and they’re even color coded nicely. The red wire is +5V, the black is +0V (GND).
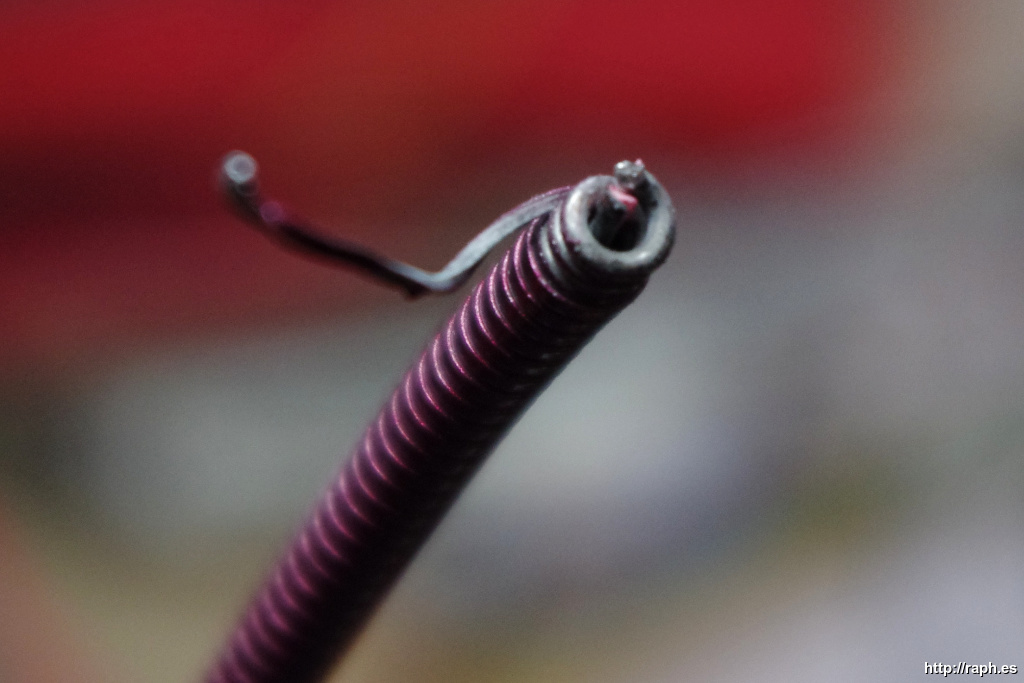
My first idea was to unwind the metal wrapped around the wires in order to expose them. There’s actually two metal layers around the wires. The outer layer is colored and can be unwound easily. The inner layer is more of a spring coil and is very tough to bend. With a bit of force you can pull the inner coil out of the outer metal.
Exposing the wires by unwinding was tricky
Turns out that cutting through the metal without hurting the wires was pretty difficult due to the force required. Even if you don’t mind the bendy metal staying on, working with the wires like this is a bit tedious. But then I found a better way to get to them.
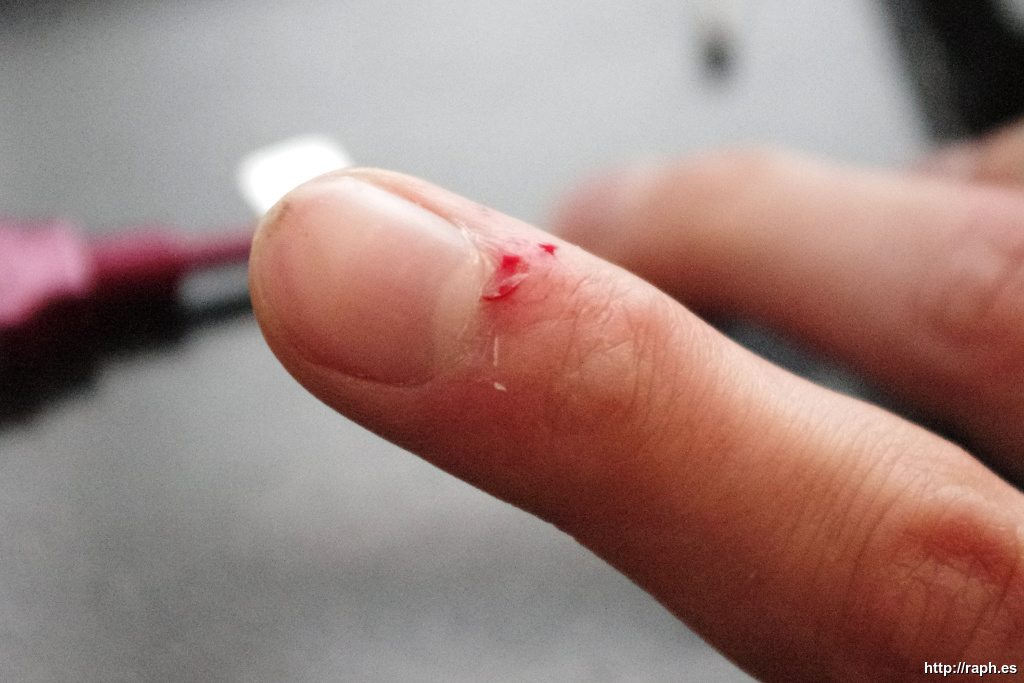
Cutting metal things can result in sharp metal edges and can shoot bits around the room. Which in turn can cause injury. I’m not sure how, but I managed to hurt my finger.
Be a safe hacker and wear gloves when handling sharp metal. And wear goggles when flinging around bits of metal.
Call 9-1-1
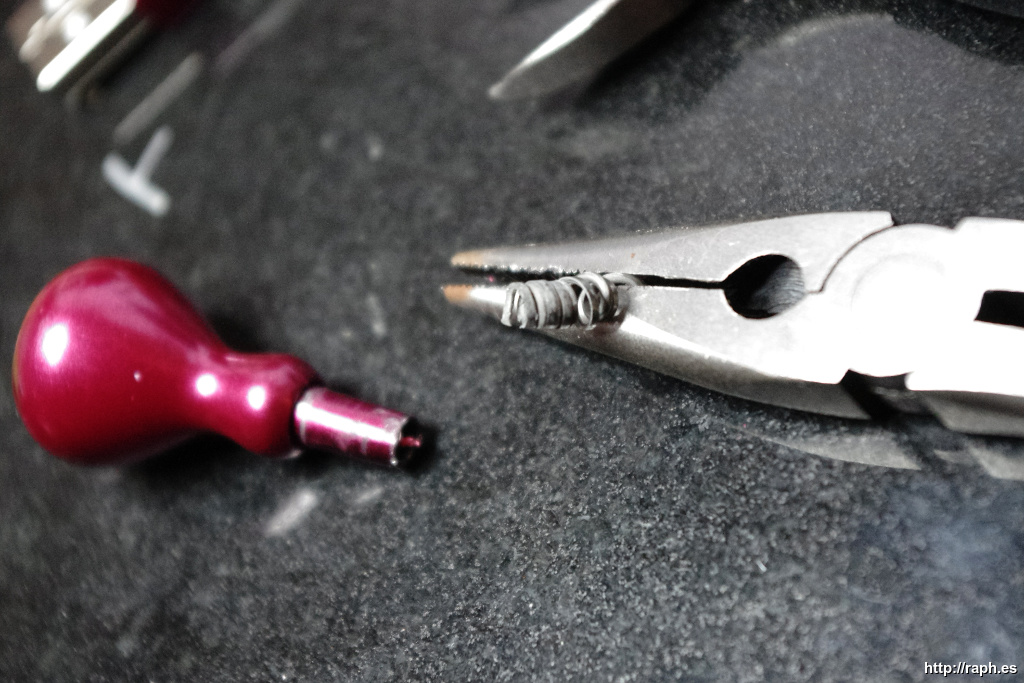
I decided to try to twist the light off it’s neck. My hope was that it would break off. But, to my delight, the head is simply screwed on. And with some force you can unscrew it nicely.
At this point I had already cut through the wires a few times. If I was to do it again, I’d just chop off the USB connector at the lowest point. Then unscrew the top and pull it off, long wires still intact and ready for soldering.
In my case however, I had to make due with the short little wires I had left. But that was fine.
With a little force you can unscrew the head.


The next step was to decide how to power the light. I was going to use batteries, obviously, but which kind?
Since the LED was meant to run off USB, I knew it expected +5V DC. I also assumed that it had a current limiting resistor fitted somewhere inside the head to keep the LED from burning. So I tried a variety of battery option I had lying around to see what would work.
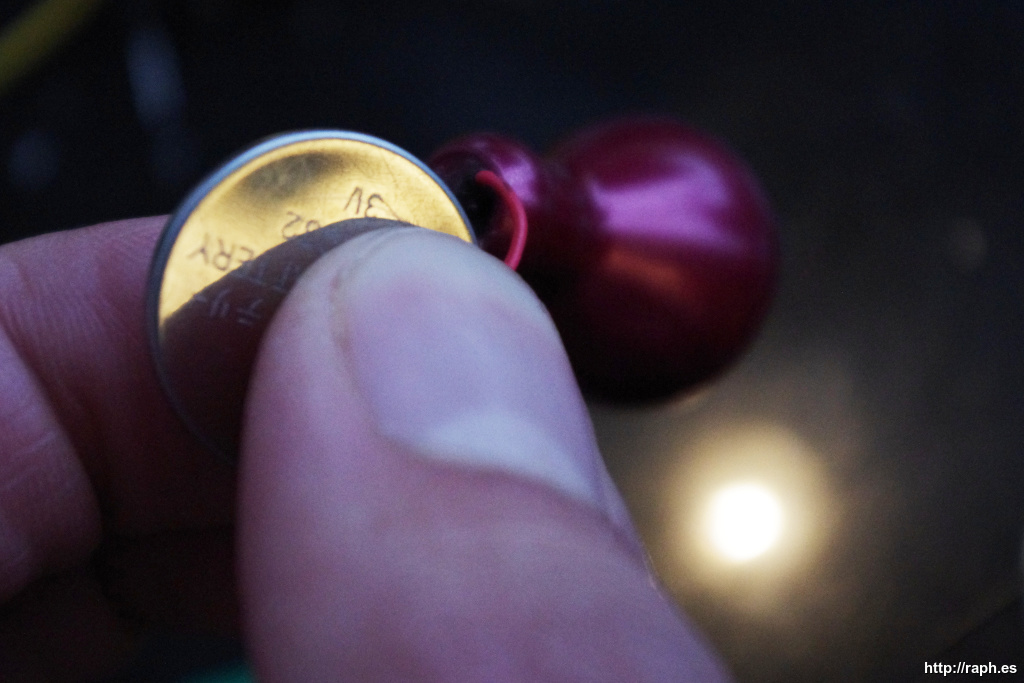
The first thing I tried was a little 3V coin cell. With less power than the typical 5V, the light was a little bit dim. Workable, but not great.
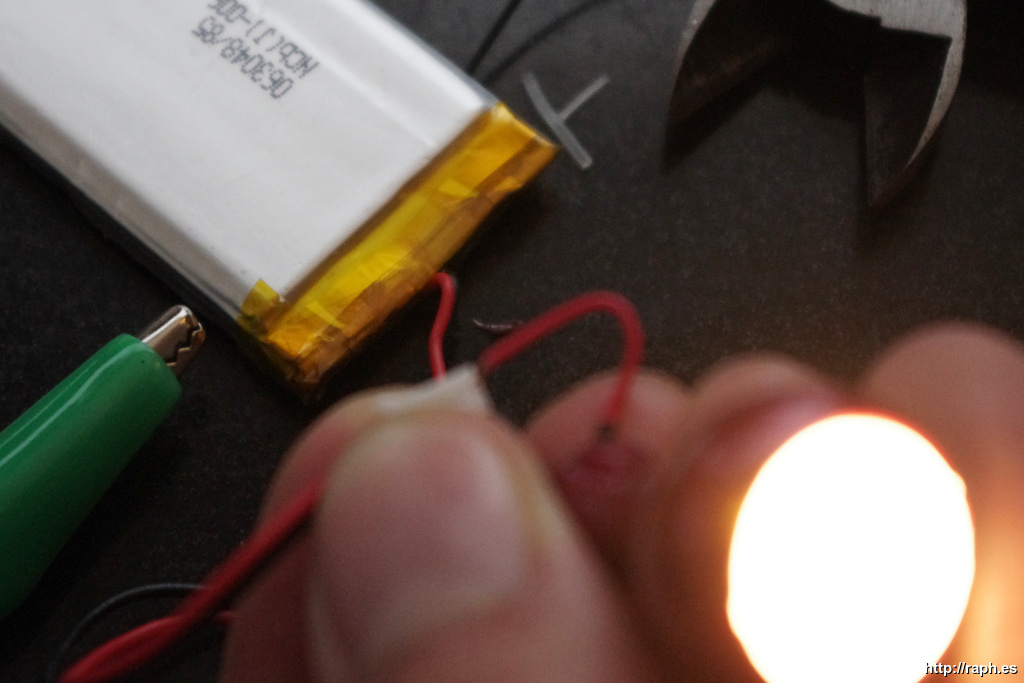
I have a handful of LiPos which I have earmarked for other projects. They are small and light, so fit the bill in that regard. I tried one and sure enough, the light was brighter. Still, LiPos are rare in my house and using one seemed a bit excessive for this project. Plus, the off-chance of a LiPo blowing up near my eyes put me off that idea, too.
Testing 3V coin cell (left) and 3.7V LiPo (right)
One type of battery I have in abundance are AAA 1.5V batteries. Three in series would give 4.5V, very close to the +5V that would give good light. I hooked up a little 3xAAA case I have - it even has a handy on/off switch.
Result was great. And I could always replace when they run out since I always have some of these guys rolling around. But the weight and bulk of the thing became an issue. The batteries felt heavier than the goggles… disqualified.
My final option was a little double coin cell holder I got. I got them cheap to play with some wearable proejcts - and technicallly, this qualifies as wearable, right? Much slimmer and lighter than the AAA solution above. Plus you can get cheap coin cell batteries all over the place. Since they just have to drive a little LED, I expect them to last long enough.

My only concern was that 6V is more than the 5V USB would give. There’s a slim chance that it could damage the LED. Typically, though, the LED can tolerate more voltage although it might lessen it’s life expectancy. I was willing to risk that.
It worked. The light is also a bit brighter than it would have been off USB thanks to the over-voltage. LED lifetime be damned, let’s run with this.
Now that I have all the pieces, it’s time to stick it onto the goggles somehow. I initially went for the battery holder on top of the goggles where they’re nice and flat. But putting it there in a way that I could still work the switch meant I’d have to bend the wires awkwardly.
I went with batteries on the side instead. The light could then sit on top in the center and shine right onto whatever is in front of me.
I had cut off the wires a bit close to the head. But the battery holder had enough wire and then some. Hold the parts to the goggles to roughly measure enough wire and then cut off the JST connector that came with the holder. The JST plug might come in handy in the future.
Be sure to take into account the extra length you’ll need when you turn the light to face forward (I didn’t).
Slip a bit of heat shrink onto each wire for later. Strip the battery and lamp wires and solder them together. They are fairly small, and there aren’t many strands to work with. Helping hands come in handy here.
Slide the heat shrink over the soldered wire. I used a lighter to shrink them since I don’t have a fancy heat gun.

I experimented with wrapping isolating tape around the whole length. But that limited the wire’s flexibility too much to be useful. I ditched the tape - raw wires look cooler anyway.

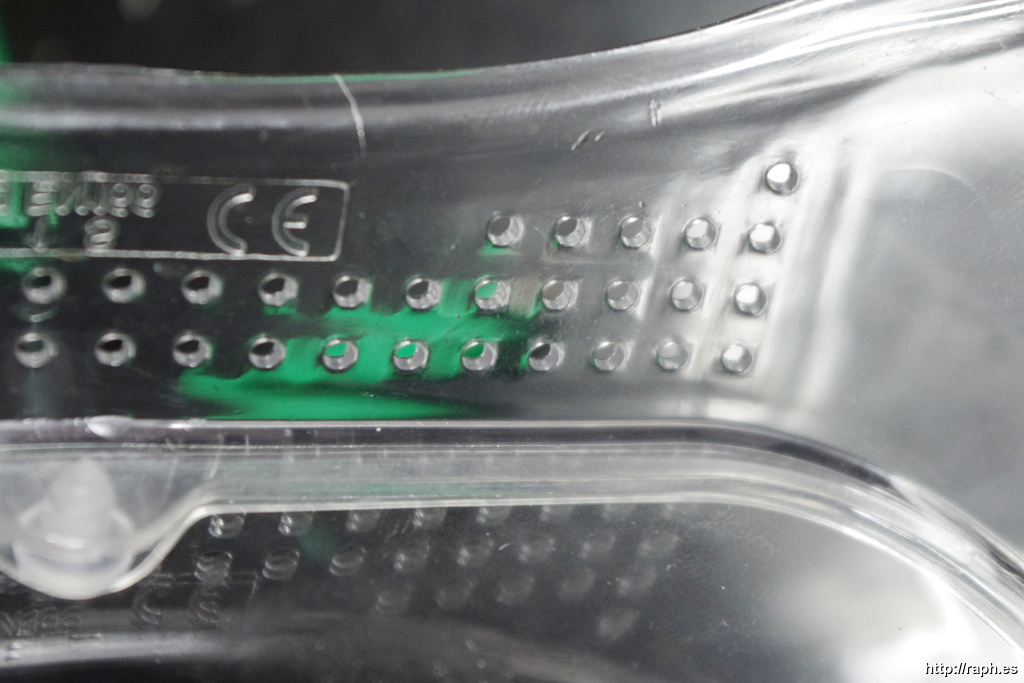
The goggles I have already have holes in them - I presume so that they don’t fog up. The material is soft and bendy so I decided to just screw the battery pack right on.
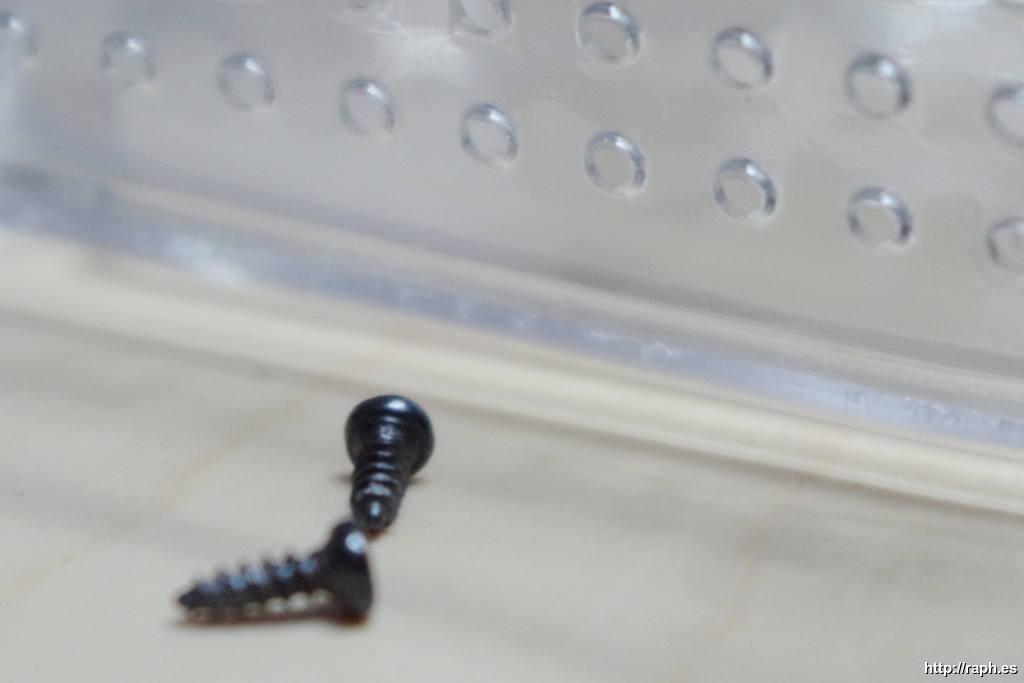
My first attempt to use the screws that hold the lid onto the battery pack failed because they were too short. I used some small screws I had lying around instead. Just screw them through the holes - the material is forgiving.
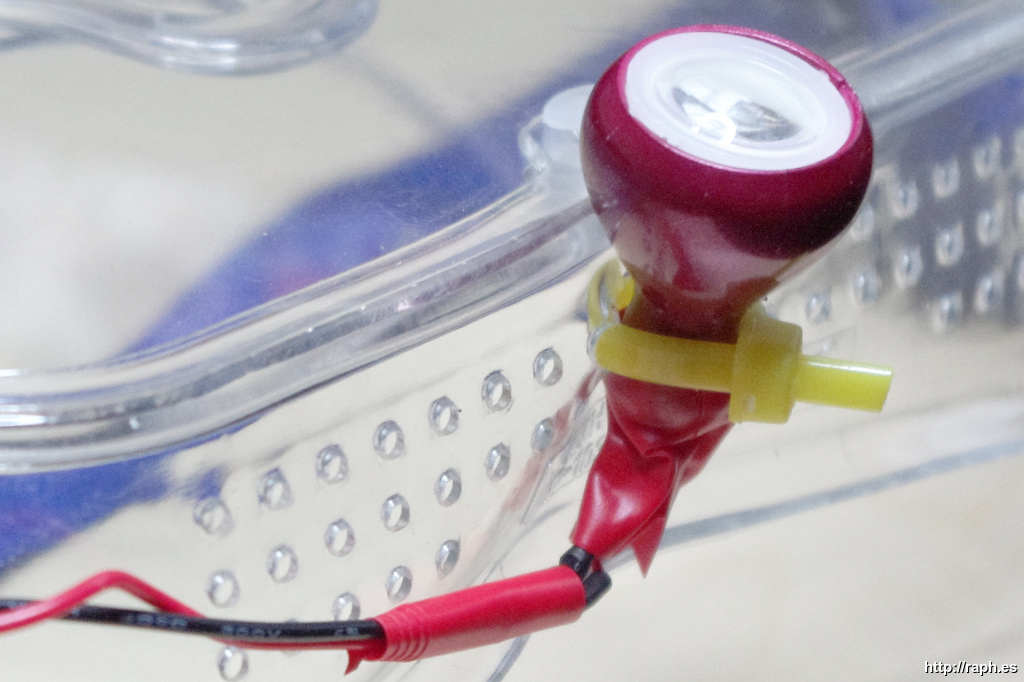
All we need to do now is mount the lamp. Since I want to be able to take this off again without much hassle, I simply used a small cable tie. It was a bit wider than the holes, so I could have widened the holes with a drill or so if necessary. But since the material is so forgiving it squeezed through just fine.
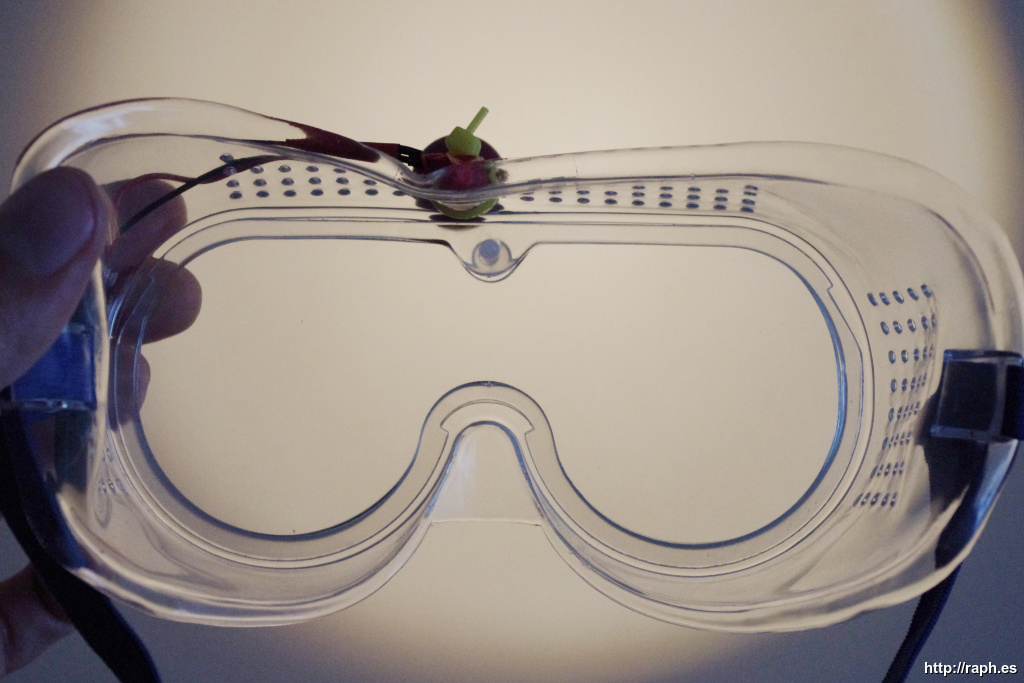
Because I hadn’t considered the extra length needed when the lamp is turned ninety degrees to point forward, I was short a centimeter or so. So I moved the lamp a bit to the side. As a result it doesn’t sit right in the center. Luckily the lense spreads the light wide enough so that it won’t trigger my OCD whenever I use it.
Also, with the tension caused by the cable tie, the top of the soft goggles now bends inward a little bit. But when put on, my forehead pushes against it so that the light points right where it should and not at the ceiling.
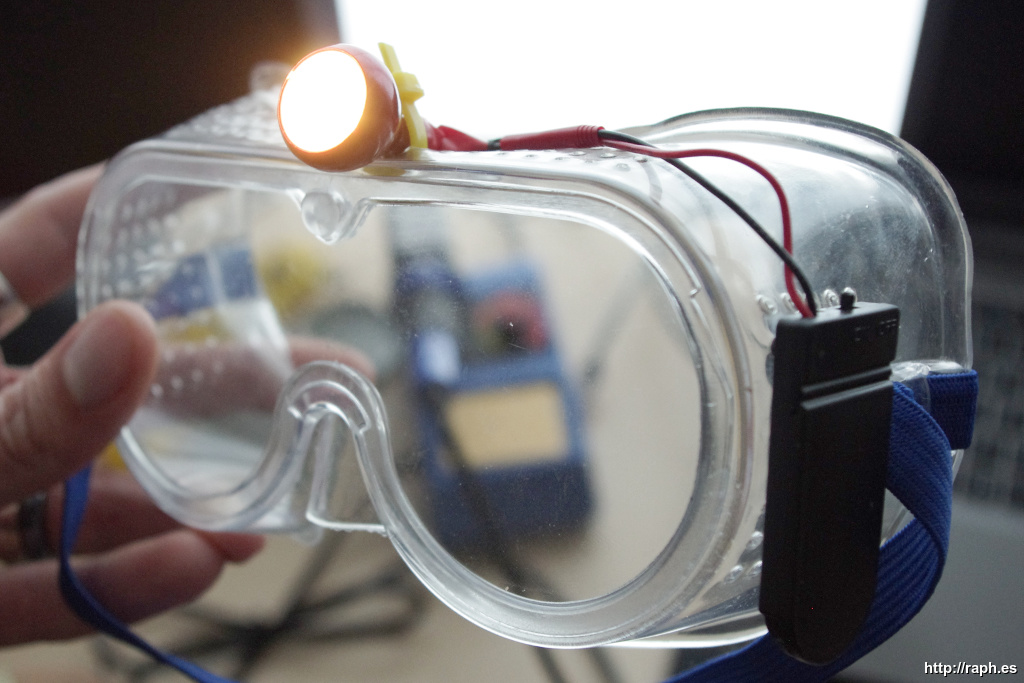
So there you have it. A quick and fun hack that makes my night-time soldering sessions a little more fun. I’ll certainly keep a look out for hackable objects at IKEA next time we go for breakfast.
If I was to do this again, here’s what I would do differently.